So first off I used, http://ledcalculator.net/ to calculate the amount of resistance I needed to use USB power which is 5v.

(click for larger image)
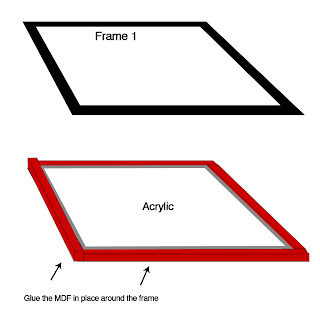
Then I cut my frame out of MDF because the aluminum L type bar I had was much to hard for me to work with considering the tools and skills I had. I cut out 2 layers on on top of the other then put in my acrylic and cut strips of MDF and glued them around the boarder to create a frame that it would sit in. Which the other layer would sit on top of sealing it in. This might not make sense so heres a diagram.
(click for larger image)


Once you've manage to wire up all your LEDS according to the diagram its time to test it all works. I should note first those when wiring and soldiering in the parts together take your time and wire everything correctly and double check everything as you go. If your camera has a nightmode like mine feel free to turn it on and enjoy seeing your LED work. Then take one moment to realise your project is actually working (so far). If they don't work double check your power source and ensure your LEDs are wired the correct way etc.

I used a small RCA connector to allow me to unplug the power from my frame in case I need to do repairs or take it apart for anyreason.


No comments:
Post a Comment